What Cables To Use In An Off-Grid Solar System
Share
A typical off-grid solar system is quite straightforward in its construction. Its three main components include, a solar panel or array that generates electricity, a solar charge controller that monitors and converts the solar energy, and a leisure battery that stores it as electrical charge. Each one of these components needs linking together with an associated interface and cable, that will allow us access to free renewable power from the system. Understanding how to link these components together effectively is invaluable so I have put together some tips on how to do so.
Solar Cables
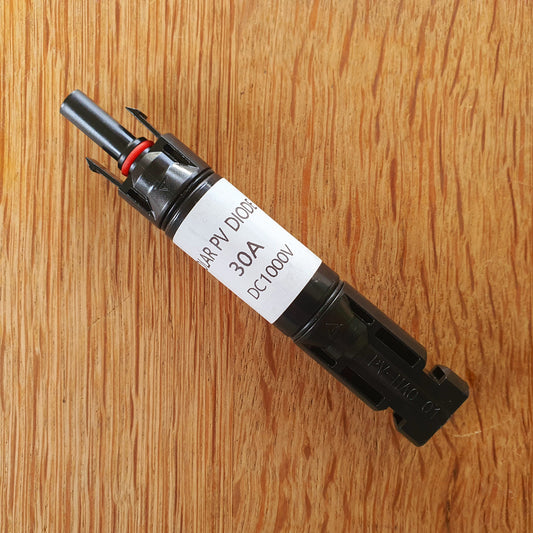
If you have already looked at solar panels for your off-grid setup, then you are likely already familiar with the standardised MC4 connector that the vast majority of solar panels and arrays use. These connectors make it extremely easy to establish solar setups thanks to their convenient positive and negative interlocking design. The polarity of these connectors allows us to build large, complex solar arrays with ease and can also be used alongside dedicated solar cables to either extend the distances between panels or to feed the output energy into a solar charge controller device. Kickstart Kamper offers a range of cables designed around each of these applications which can be found below.
Note: It is important to check that your solar charge controller can accommodate both the maximum voltage and current that your solar panels can output.
Charge Controller Cables
The charge controller is a handy little box that serves as the interface between your solar panels and your leisure batteries, it converts electrical voltage and current into a form that will help charge your batteries safely, effectively and in a way that ensures a decent service life. It is always recommended that you connect your leisure batteries to your charge controller first, and adjust the settings so your battery receives the correct charging profile.
Note: A lot of charge controllers can accept 12v and 24v battery configurations as standard, and can automatically adjust to different voltages when they are turned on. It is however worth checking that this is the case as not all charge controllers support this function.
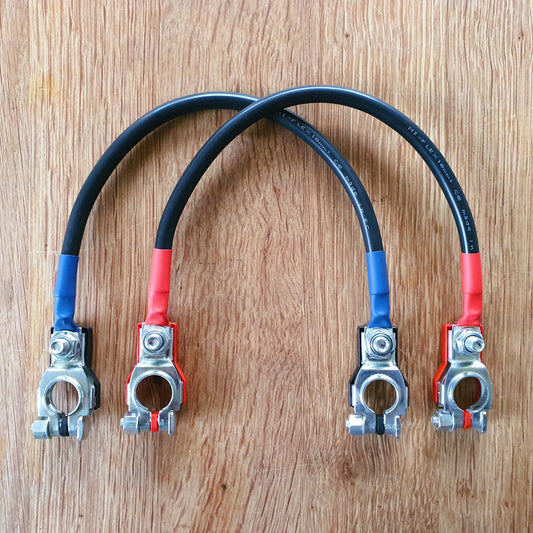
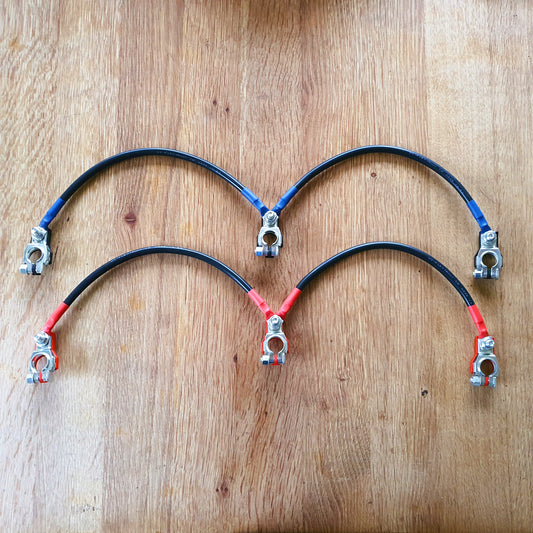
Otherwise, connecting your batteries to your solar charge controller is as simple as selecting the right cables and connecting them together. Leisure batteries typically have either bolt, stud or post style terminals and it is worth checking and measuring your terminals to make sure you know what to look for. Kickstart Kamper supplies both 8mm stud/bolt and post style connectors with any charge controller cables, to accommodate the vast majority of off-grid setups. See the selection below.
Obviously, if you are unsure in anyway about how to design and setup your solar system please do ask a qualified electrician.


